Welcome to the graphic design world! It’s crucial to comprehend the graphic design process whether you’re a novice or an experienced professional, especially considering the essential role of graphic design in business success. From the first inspiration to the last delivery, this all-inclusive handbook will provide the information and resources you need to traverse each step successfully.
Understanding the Process of Graphic Design-Key Concepts
Let’s examine some key ideas that support the design process, before moving on to the graphic design process steps.
- Graphic Design: Graphic design is the art of communicating ideas and information visually using typefaces, images, and layouts.
- Creative Design Process: The creative design process is an organized but flexible method for coming up with ideas, resolving issues, and producing visually stunning designs.
- Graphic Design Workflow: The precise order in which a designer works on a project, comprising research, ideation, design execution, refinement, and delivery, is called the graphic design workflow.
Gaining an understanding of these words will enable you to approach every project with creativity and strategy.
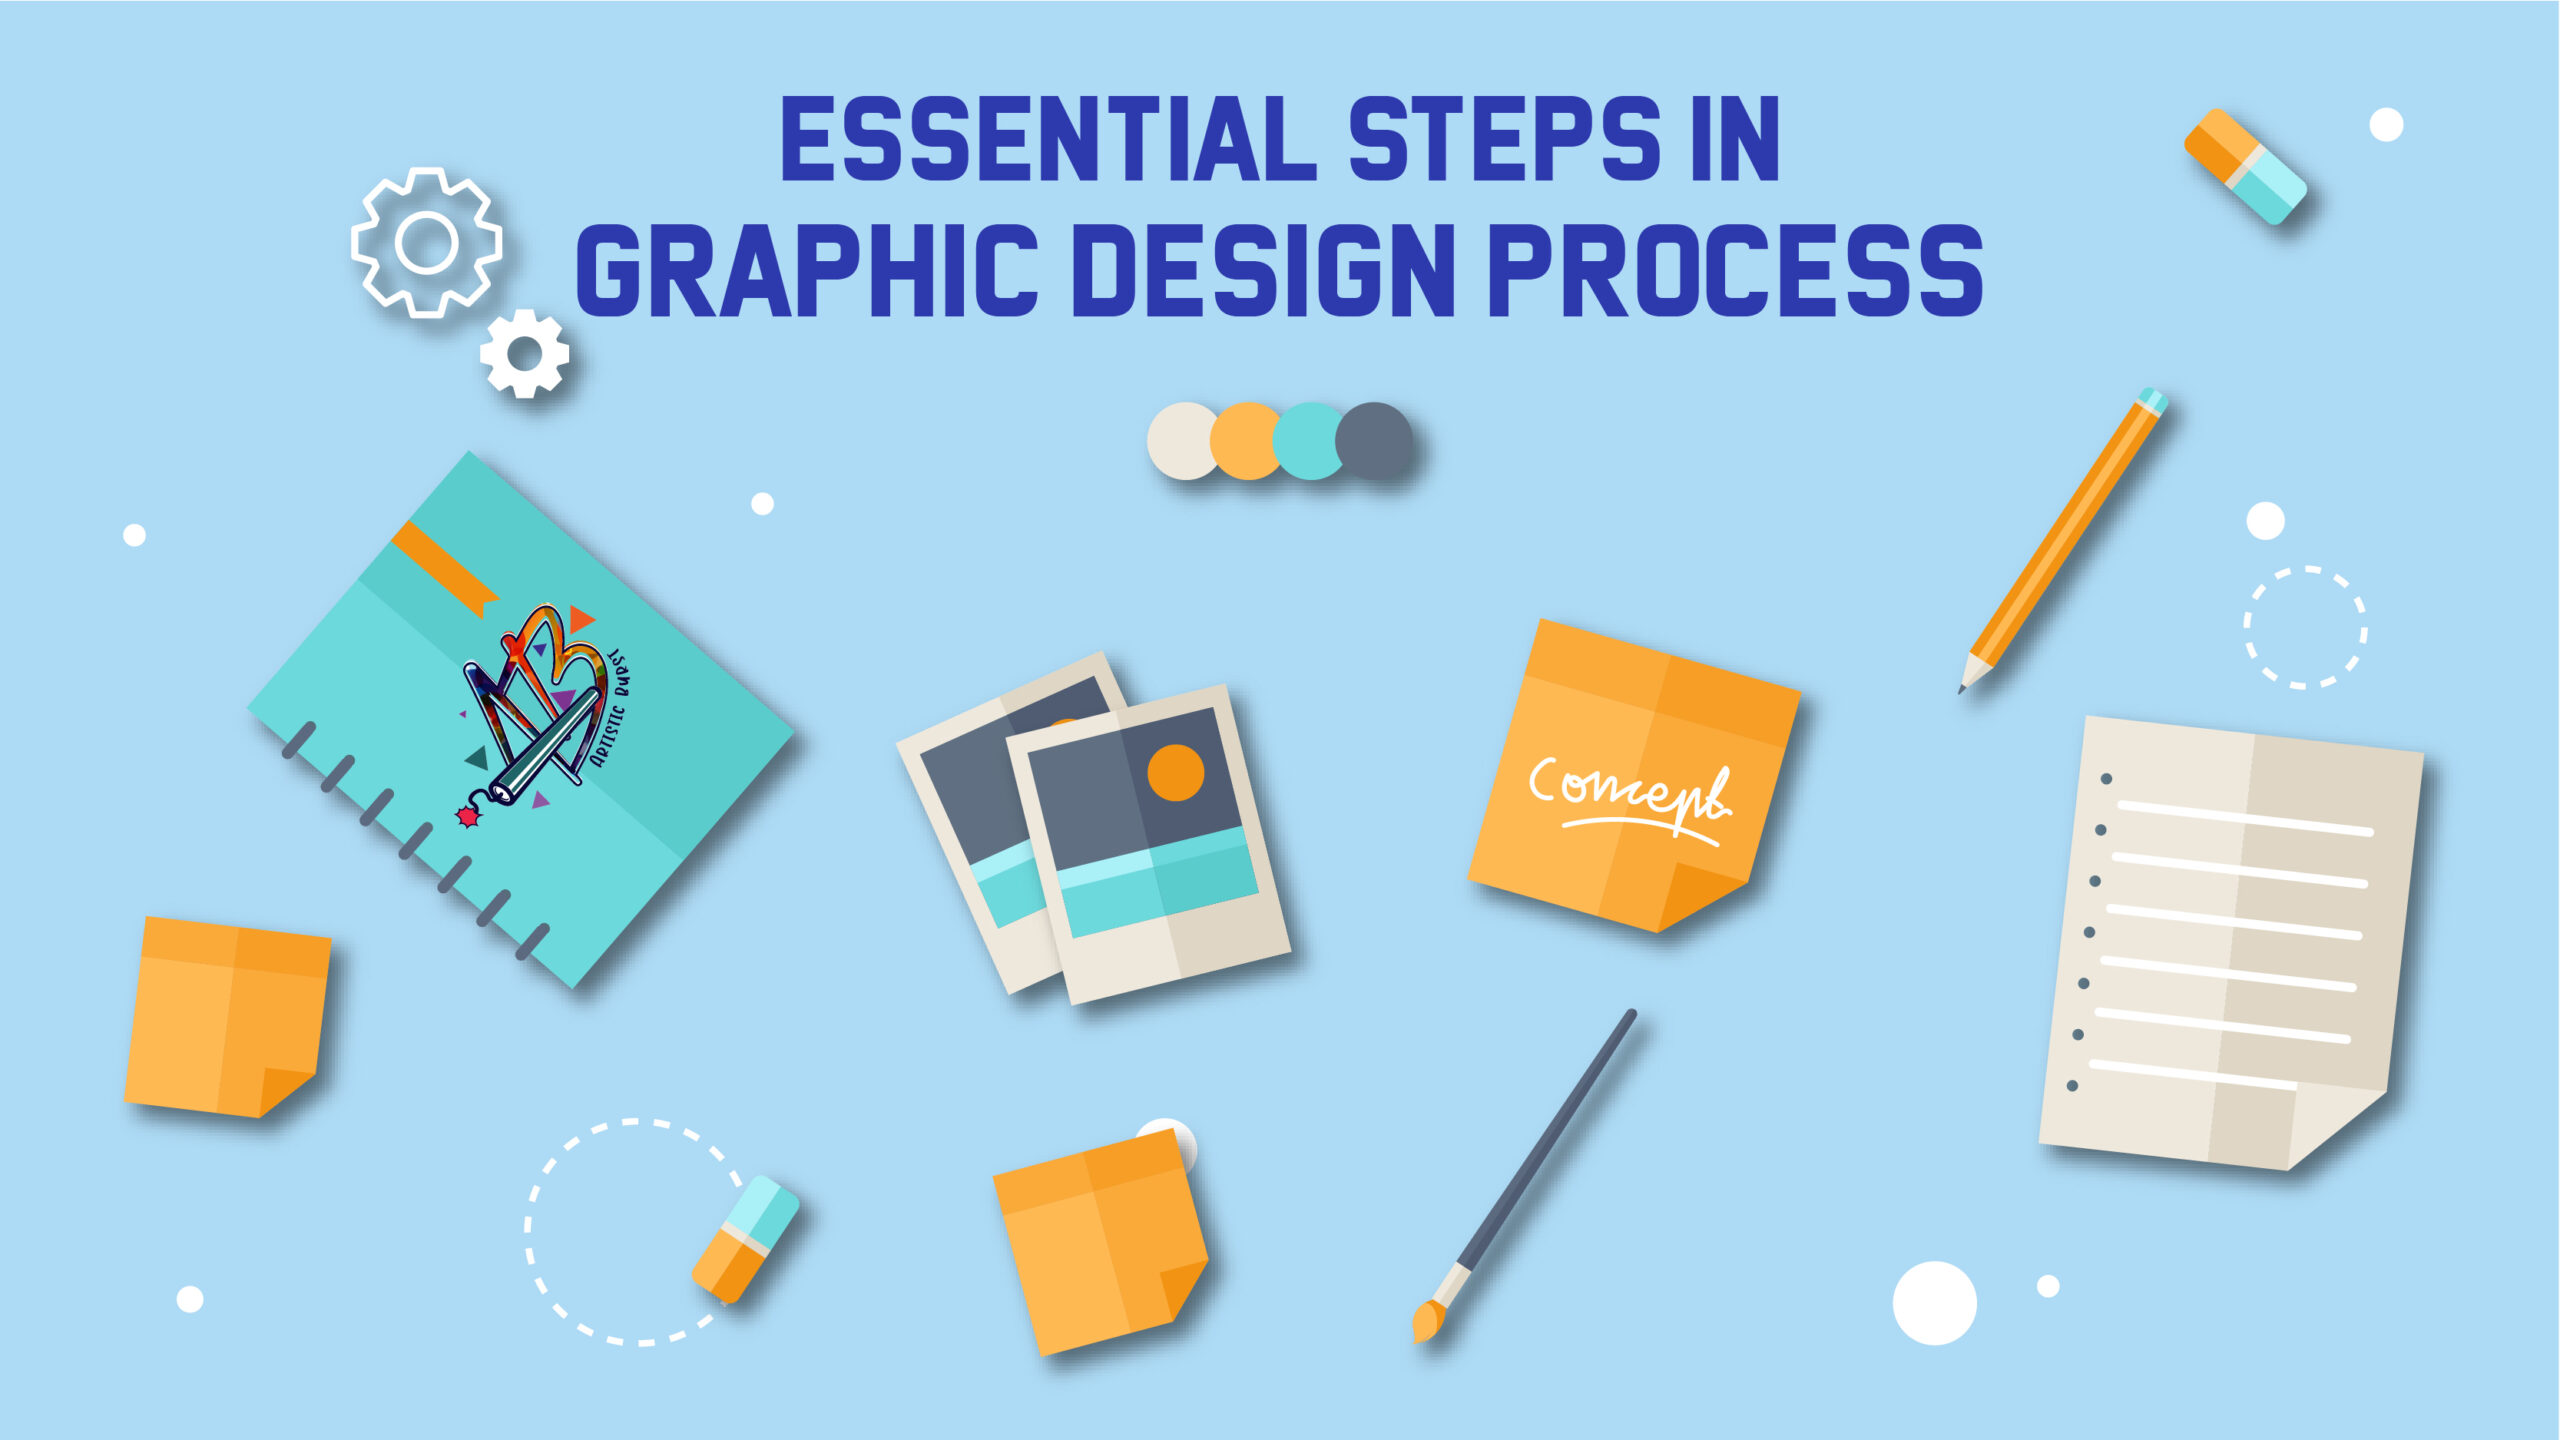
Essential Steps in the Graphic Design Process
This in-depth manual provides step by step graphic design process and design process examples, offering you the skills and information you need to convert ideas into powerful visual solutions.
1. The Design Brief:
A design brief, which is a document that outlines the project’s objectives, target audience, brand guidelines, and deliverables, is the first step in every project. This important initial step guarantees that all parties are in agreement. A clearly specified brief ought to contain the following:
- Project Objectives: What is the intended result of this design project? Is the purpose to spread knowledge, advertise a product, or raise brand awareness?
- Target Audience: Who is your intended audience when you design? It is essential to comprehend their interests, design preferences, and demographics in order to create a communication tool that works.
- Brand Guidelines: Are there any brand colors, fonts, or logos that must be used specifically for this project? Establishing a solid brand identity requires consistency.
- Deliverables: What particular design components are going to be made? These might be social media visuals, website mockups, brochures, or logos.
Example: A marketing firm is given the task of creating a social media strategy for a recently opened eatery. The restaurant’s target market (young professionals), brand personality (fun and trendy), campaign objectives (increased customer traffic and brand recognition), and expected deliverables (social media graphics, video commercials) should all be outlined in the brief.
A well-crafted and succinct design brief reduces misunderstandings and sets the stage for a successful project.
2. Researching and Gathering Ideas:
Spend some time doing research before launching into creative exploration. This might entail
- Comprehending the Industry of the Client: Become acquainted with the market, rivals, and design patterns in the industry of the client.
- Target Audience Research: Gather information about the target audience’s information demands, pain areas, and design preferences through user research.
- Competitive Analysis: Examine competitors’ effective design solutions to find best practices and possible points of differentiation.
Example: For the restaurant campaign the designer may look into popular cuisine trends on social media, examine rival pages on social media, and poll the target demographic to find out about their favorite visual styles and social media channels.
In addition to providing inspiration, research guarantees that your design complies with target audience expectations and market trends.
3. Idea Generation and Brainstorming:
Now for the exciting part: Here are some methods to encourage original thought:
- Mind Mapping: Create a mental map of the concepts and relationships surrounding the main idea of the project.
- Mood boards: Make collages, either digitally or physically, that encapsulate the desired look and feel of the brand.
- Sketching: Don’t be scared to swiftly explore a range of design possibilities by putting pen to Trial and error are the key!
Example: The designer could use mind maps to explore various concepts pertaining to the target audience and cuisine of the restaurant during a brainstorming session. After that, they might design mood boards with color schemes, typefaces, and imagery styles that complement the study findings and brand personality. Lastly, participants could doodle over a few video ad suggestions and social media graphic layouts.
By working through these exercises, you will come up with a variety of first ideas. Choose the most promising ones and develop and polish them for additional research.
4. Development of User Personas (Optional):
Consider developing user personas for projects that have a significant user emphasis. These are made-up depictions of your target market that include information about their goals, habits, pain spots, and demographics. You may ensure that your solutions meet the demands of the user and design with empathy by using user personas.
Example: The designer might make “Sarah,” a 28-year-old young professional who likes to try out new places and stalk food bloggers on social media, as the user persona. Sarah is searching for educational and aesthetically pleasing stuff that whets her appetite and tempts her to go to the restaurant.
5. Prototyping and Wireframing:
Make low-fidelity prototypes or wireframes before beginning the visual design process. These are simple layouts that highlight your design’s usability and user flow. Before devoting attention to visual aspects, wireframing enables you to test the usability and structure of the Popular tools for wireframing are Adobe XD, Sketch, and Figma.
Example: The designer may produce a wireframe for the restaurant video advertisement that shows the order of shots, text overlays, and calls to action. This enables them to improve the video’s organization and make sure the message is delivered within the allotted time.
6. Design Execution:
Now that your ideas have been authorized and you have a clear direction, it’s time to convert them into digital or physical form. This is where the graphic design program of your choice is Popular choices include of:
- Adobe Photoshop: It is the industry-standard program for picture editing and image Perfect for producing photo-realistic mockups, social media visuals, and website hero photos.
- Adobe Illustrator: It is a powerful program for making illustrations, logos, and vector ideal for creating scalable graphics, infographics, logos, and icons for a range of applications.
- Adobe InDesign: Page layout and multi-page document creation software, such as presentations, periodicals, and brochures, is Adobe InDesign. Ideal for creating eBooks, print publications, and promotional materials.
The particular program you select will rely on the nature of the project and the intended result.
Example: Let’s revisit the restaurant social media campaign. The designer might use:
- Adobe Photoshop: To edit high-resolution food photography, create social media post templates with the brand colors and fonts, and design eye-catching call-to- action buttons.
- Adobe Illustrator: To create custom icons for the restaurant’s menu categories or design unique graphic elements for the video ad that require scalability.
7. Design Refinement and Iteration:
Nothing is flawless the first time around. Make edits to your work in response to criticism from clients or peers. This could entail playing around with alternative font choices, altering colors, or revising layouts.
Example: The designer may receive feedback from the customer after delivering the original concept for the video ad and social media graphics. The customer may advise adding a voiceover narration to the video ad or asking for a slightly modified color scheme for the graphics. After making these adjustments with their preferred software, the designer would submit the updated designs for approval.
8. Client Feedback and Approval:
It’s necessary to take client feedback into account at every stage of the design process to make sure the finished product meets their needs and expectations. The following steps will help you set up a cooperative workflow for efficient customer approval and feedback:
- Plan Frequent Review Points: Presenting your work shouldn’t wait until the very last Throughout the design process, set up regular checkpoints at intervals such after brainstorming meetings, initial concept presentations, and draft versions. This prevents significant adjustments later on and allows for early feedback.
- Create Unambiguous Channels of Communication: Specify your preferred ways of getting feedback. This could be done using online collaboration tools, in-person meetings, or email annotations on At the start of the project, make sure the client is aware of these techniques.
- Give the feedback some context: Provide concise justifications in the framework of your design talks. Describe the thinking behind your design decisions, how they relate to the target audience and project goals, and how they fulfill the client’s brief.
The client is able to give more targeted and helpful criticism because of this context.
- Engage in Active Listening and Reaction: Take careful note of the client’s comments. If necessary, ask clarifying questions. Express your understanding of their worries and your intended course of action.
- Clearly Present Revisions: When implementing suggestions, be explicit about the modifications you made. Draw attention to the changes and describe how they resolve the client’s issues. This keeps things clear and prevents misunderstandings.
- Document Approvals: Upon receiving the client’s approval, put the design phase in As a record of agreement and to help control expectations for further adjustments, this email confirmation or signed mockup is used.
Example: let’s go back to the restaurant’s social media campaign. To show the client the preliminary social media graphic concepts and video ad storyboard, the designer may arrange a video conference. The designer can address any queries the client may have and go over the design options on the call. Subsequently, the designer solicits final approval by incorporating the client’s feedback into new versions.
9. Design Delivery Preparation:
It’s time to get the design ready to be delivered to the client after it has been completed and This could include:
-
- Exporting files with the appropriate resolution and (For example, optimum PNGs for the web and high-resolution JPGs for printing)
- Supplying typefaces and other required design elements.
- Developing style manuals to ensure uniformity in branding (optional).
Example: The designer would make sure the social media visuals are exported in the appropriate dimensions and format for every unique platform (Facebook post versus Instagram story, for example). Along with the fonts used, they would also give the client access to any stock images or icons that were utilized in the design.
10. Final Delivery and Project Completion:
Provide the client with the completed design files and any supplementary information, such as style guides or usage directions.
Example: For instance, the designer would provide the customer a zipped package with the finished social media visuals and video advertisement, as well as the fonts that were utilized. A brief document with recommendations for utilizing social media graphics across various platforms may also be included.
You may successfully navigate the graphic design process and produce powerful solutions for your clients by adhering to these ten steps and never stopping to learn from your experiences.

Summary: This manual deconstructs the graphic design process into ten primary components, covering various types of graphic design. It emphasizes the importance of understanding the different types of graphic design and how they contribute to business success. Important ideas like creative processes and design procedures are made clear. The creation of a design brief, concept generation, and the use of programs like Photoshop and Illustrator will all be covered for beginners. Designers with experience will value the focus on final delivery, revisions, and customer feedback. You will have no trouble producing visually striking content if you follow these guidelines and keep improving. Additionally, for tasks beyond your expertise, considering outsourcing graphic design can be a strategic option to ensure quality and efficiency.
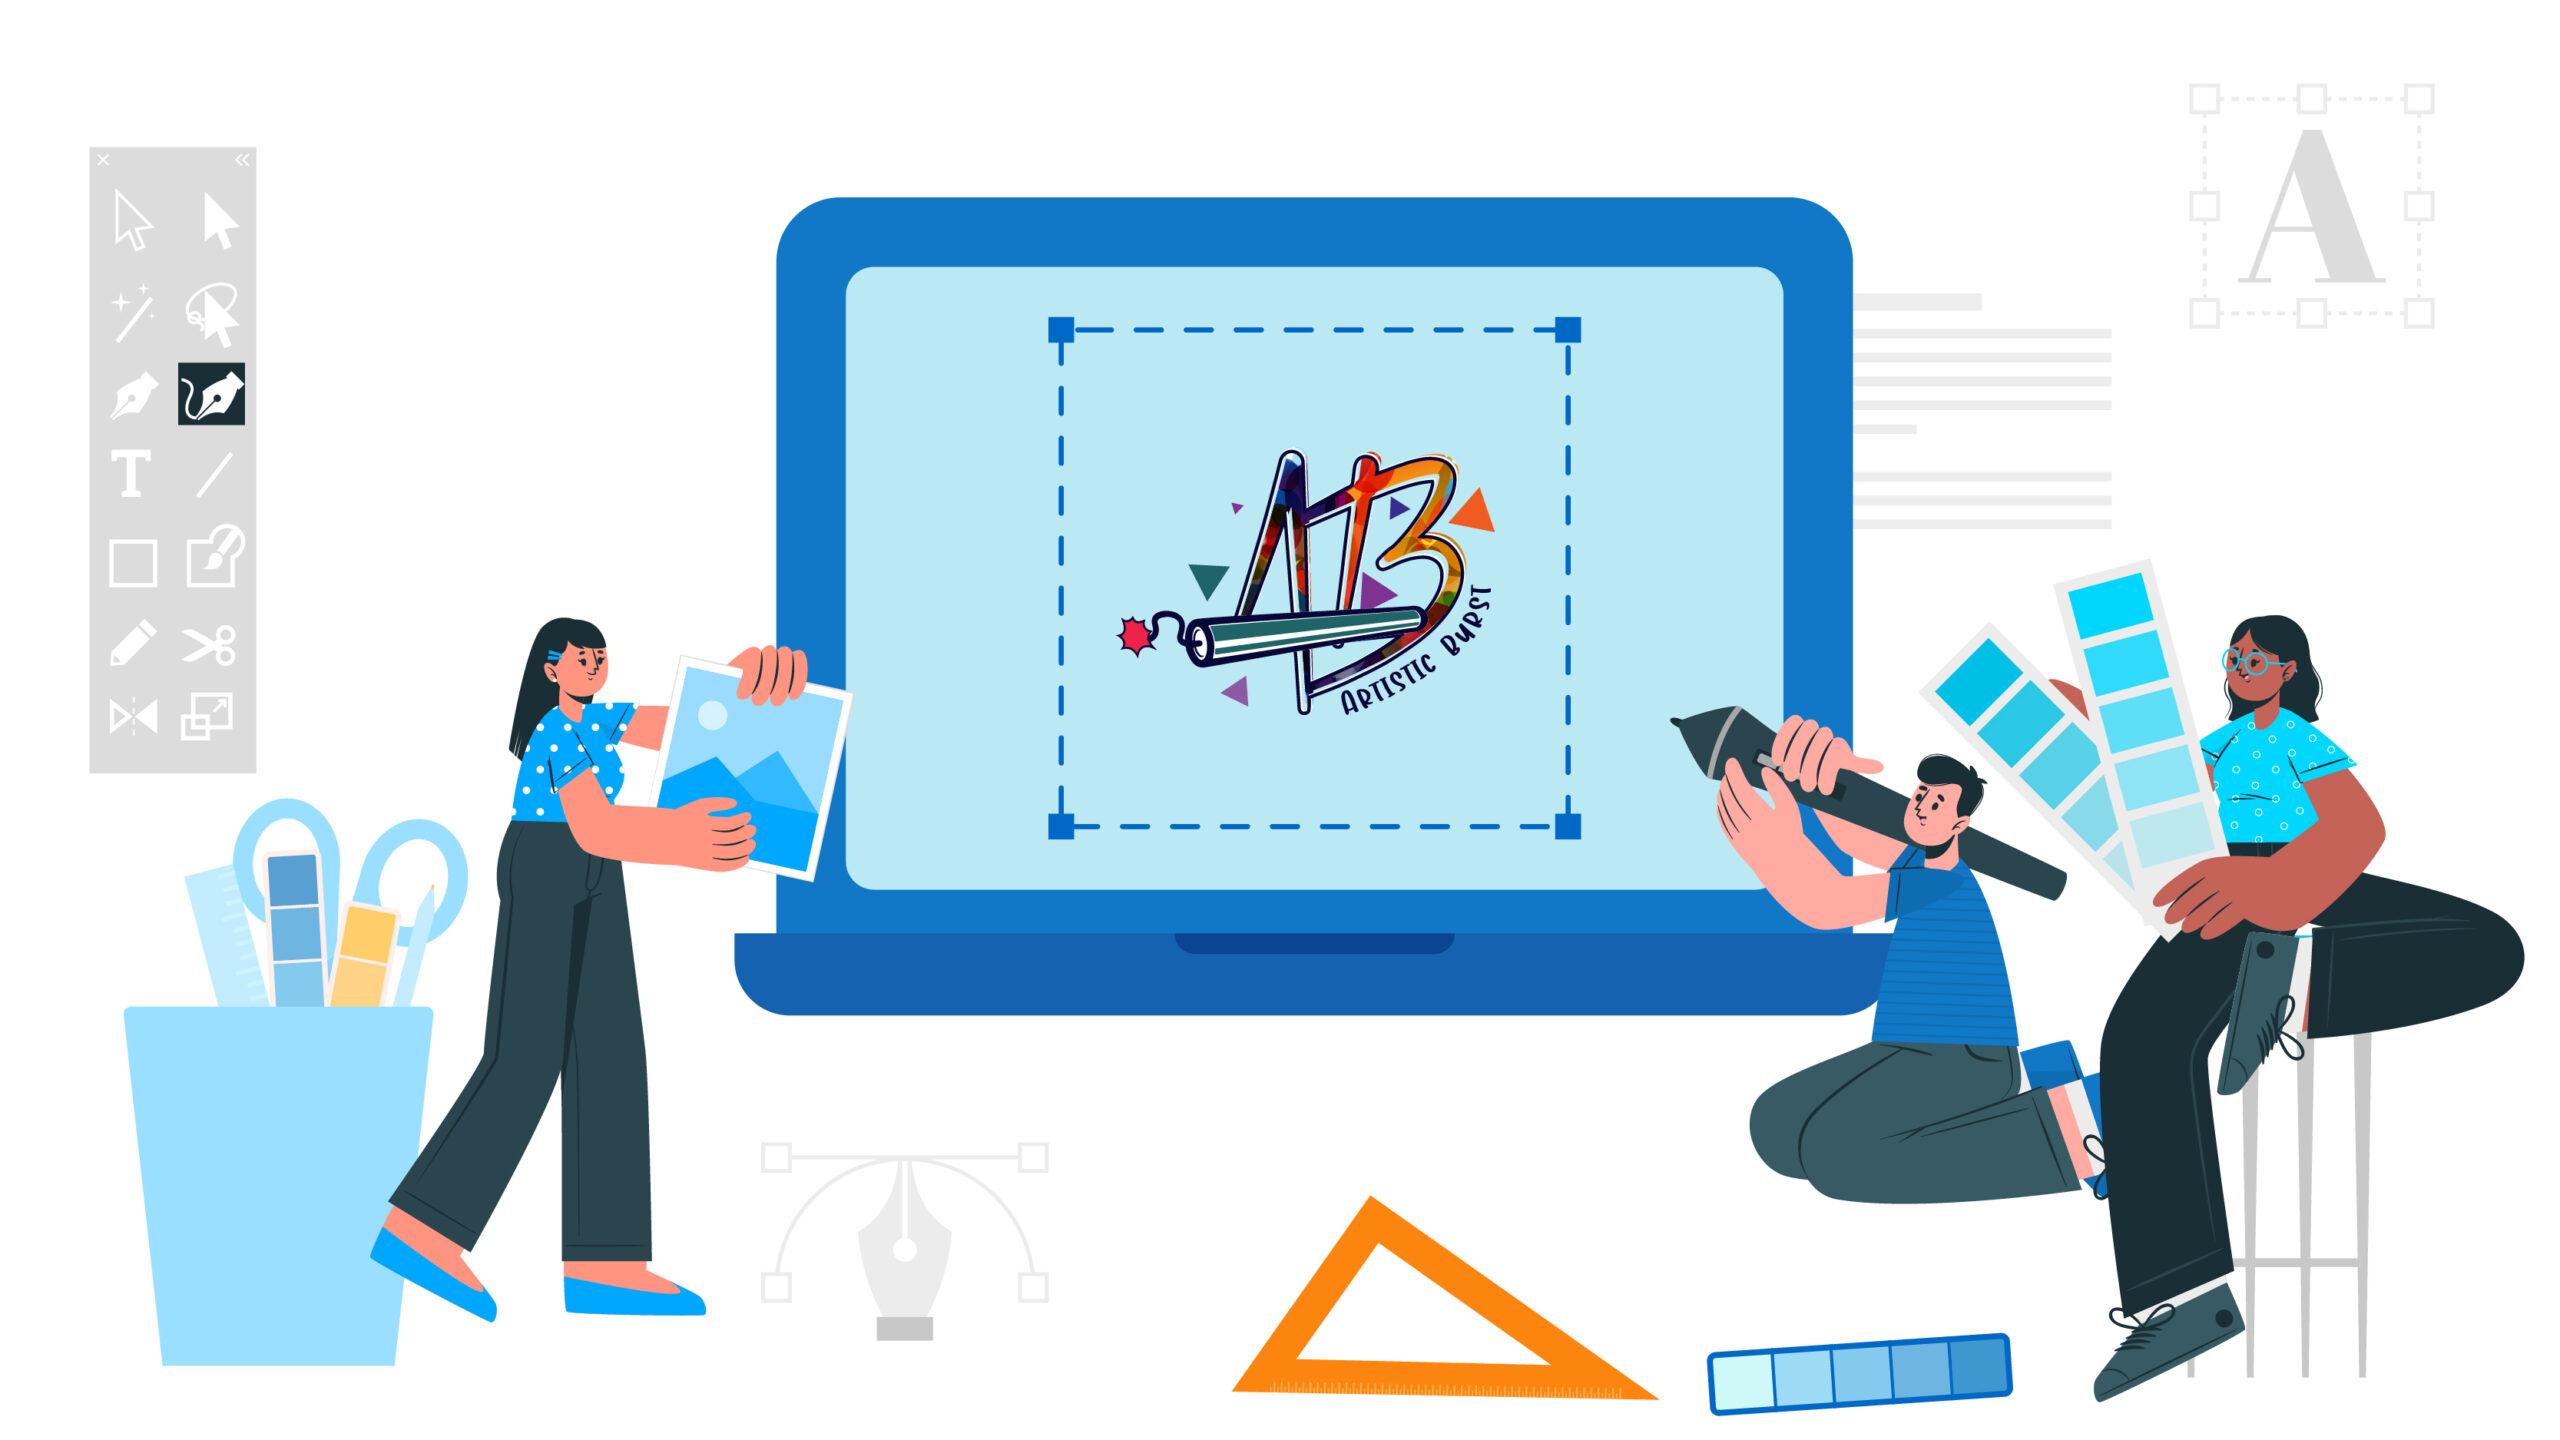
Feeling Stuck For Inspiration?
Are you having trouble coming up with ideas for your upcoming graphic design project because you’re feeling blocked creatively? Be at ease! Artistic Burst provides graphic design services. Create engaging mood boards that incorporate these various design elements to give your ideas life. With Artistic Burst, you are empowered not only to ignite your creative flame but also to improve your finished products at every step of the process. You may realize your full creative potential and handle the graphic design process with confidence if you have access to the correct tools and a little bit of Artistic Burst inspiration.